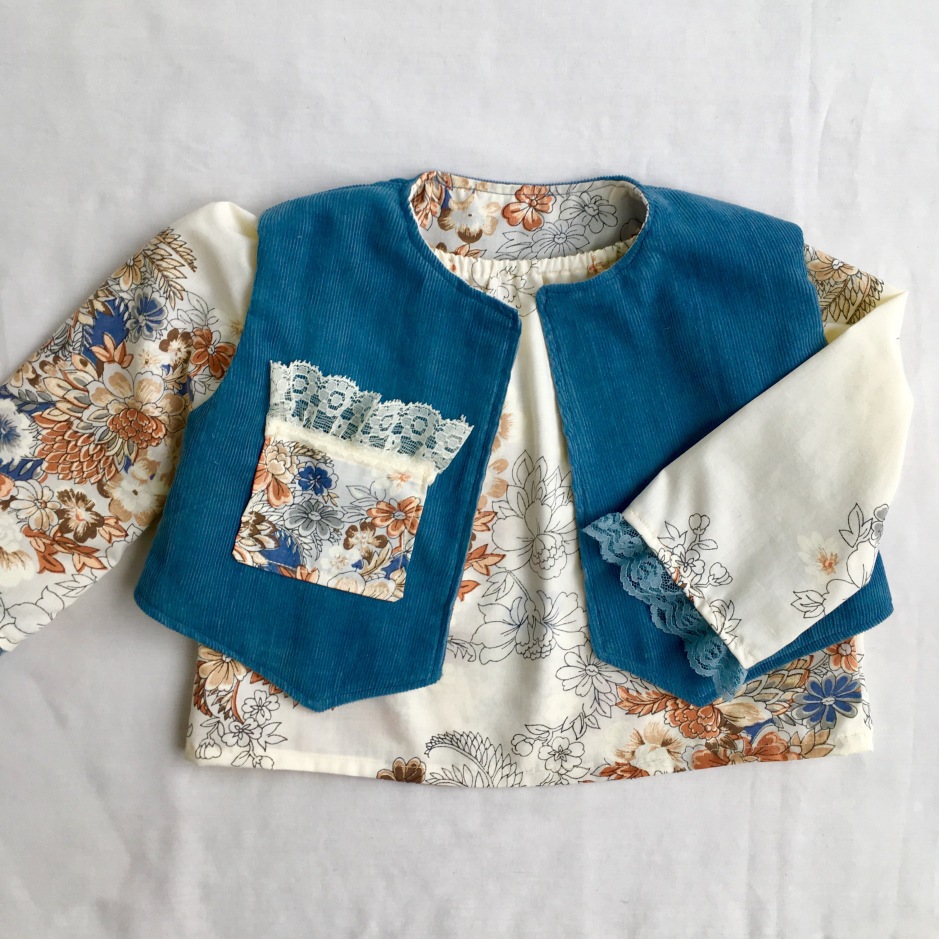
I was hoping to post my new blog post sooner, but I have been so busy with my first collaboration! My handmade biz, NorahJane Boutique is gearing up for a Spring collaboration with some really creative moms. It’s a lot of work but has been exciting and I will definitely be blogging about it (soon?)!
This year, I’ve really been putting a lot of focus on how I can repurpose beautiful vintage linens. I came across some inexpensive table linens in an antique store right outside the city. There’s something about a store filled with beautiful and old treasures that makes the creative part of my brain kick in.
There was a time when the lady of the house would sit at her lovely dressing table and get herself ready for the day. I’d like to imagine she had a bunch of kids and a husband bothering her the whole time, but at least she had a pretty table. And on it, she’d have pretty dresser scarves to show off all her beautiful brushes and jewelry boxes.
And that’s when I thought, “This would make a cute apron! In fact, if I cut it in half, it’d make two!” Today’s little sewing adventure is a really simple one. It takes just the basic sewing skills and not too many supplies. It is a quick project, too. You’ll probably be able to make two aprons in an hour. Etsy and EBay are also great places to find dresser scarves. You can also use doilies! They come in lots of different styles and sizes. The smaller ones work great for a toddler.
Here’s what you’ll also need : scissors, pins, fabric, and a pattern piece to make the apron band and tie (pic 1). I took one of the pattern pieces from one of my patterns, but if you’re good at cutting straight lines, you can easily make your own pattern piece. The fabric should measure about 40 inches in length and at least 3.5 inches in width. This is the perfect size for my babe, but you’ll need to adjust if you’d like the ties to be longer for a big kid. Or maybe you just like the look of a wide ban, so just add some width.
First, you’ll place your pattern piece on your fabric and pin it. And then cut it out. Fold the fabric in half, length wise. Make sure the right sides of the fabric are now facing each other. Now pin it. You’ll want to leave a space in the middle open so that later you can turn the apron band and ties right side out. I tried to show this in pic 2. The amount of space you’ll leave open is the width of the apron (or dresser scarf).
Now it’s time to sew. Make sure you start at one end of the tie end (pic 3). Stitch close to the edge. You’ll need to stop when you get to that opening (pic 4) and then pull out your fabric and go to the other end of the tie and repeat.
Next, you’ll want to cut the corners off of each end (pic 5). This helps make your corners look nice when you turn it right side out. Now, you’ll turn your fabric right side out. Here’s a little tip: I use a chop stick to help me get right into the corners. Just be careful and not jab your chop stick in there too hard (yes, I have torn fabric this way and yes, I wanted to bang my head on my sewing table).
I’m not a big fan of ironing and I know all the sewing books tell you to use your iron and use it often. Um, no thank you. But, this next step requires an iron and you’ll actually have to use it. With your band and tie ends turned right side out, you’ll need to tuck in the “raw” edges (that’s the part you left unsewn) so you can’t see them. Now press the whole band and tie ends nice an flat.
Now you’ll sandwich your apron into the opening and pin it (pic 6). Back at your sewing machine, start at the end again and stitch all the around until you get back to where you started. This ensures that the opening is now closed (pic 7).
You’re all done! Super easy, right! Feel free to leave me a comment if you tried this project.


